|
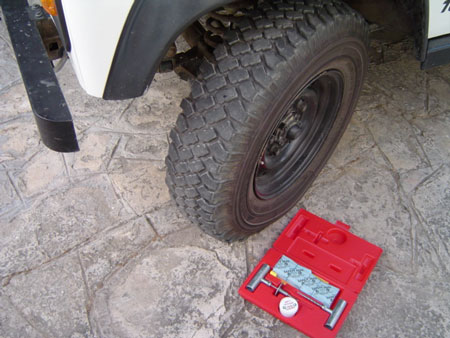
Riparare un pneumatico tubeless con un apposito kit di riparazione è un'operazione semplice e definitiva. L'inserzione di una striscia autovulcanizzante a tutto spessore è infatti più sicura ed efficace rispetto alla "toppa" inserita dai gommisti all'interno del pneumatico. Ma non è tutto: consideriamo anche il fatto che la riparazione può essere portata a termine senza la necessità di smontare la gomma....un beneficio impagabile quando siamo in off road non importa se a pochi chilometri dalla civiltà o nel bel mezzo di un deserto.
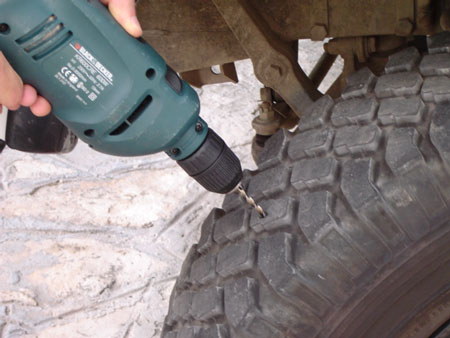
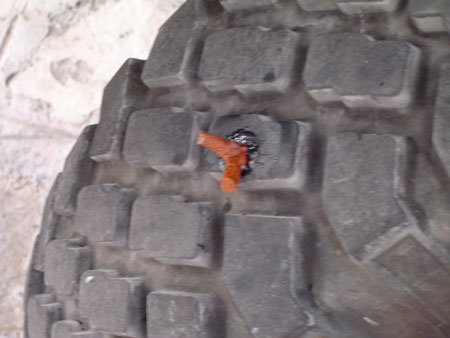
La nostra è una foratura "simulata". Un trapano ed una punta da 8.
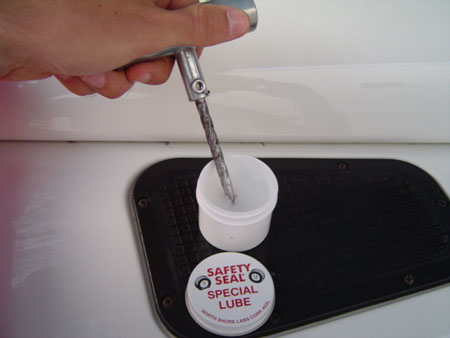
Step 1 Lubrificare la punta a spirale con l'apposito lubrificante. Questo accorgimento serve per permettere alla punta di avanzare più facilmente nel pneumatico. In realtà questa operazione dovrebbe essere preceduta dalla rimozione della causa della foratura.
Step 2 Penetrare a fondo con la punta a spirale è un'operazione necessaria per farsi strada attraverso la carcassa e le maglie di acciaio di cui questa è composta. L'utilizzo della punta non è assolutamente lesiva nei confronti dell'insieme della struttura.
Le strisce autovulcanizzanti sono conservate in confezione di carta pronte per l'uso.
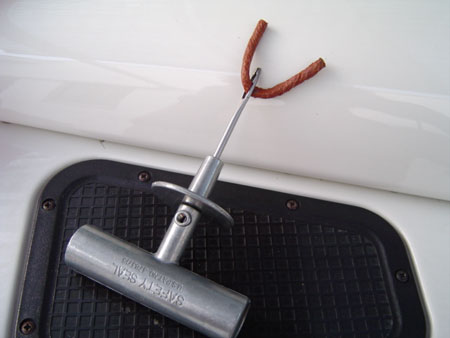
Step 3 Inserire una striscia nella cruna dell'ago.
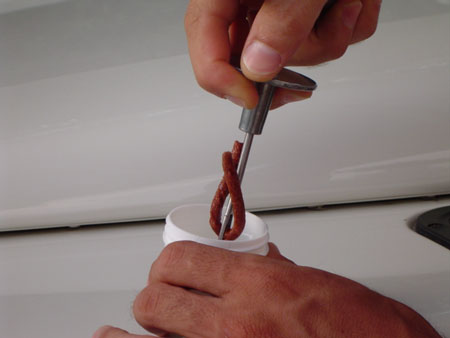
Step 4 Lubrificare la punta dell'ago con il lubrificante fornito nel kit.
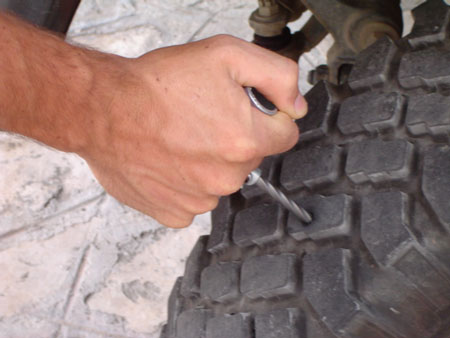
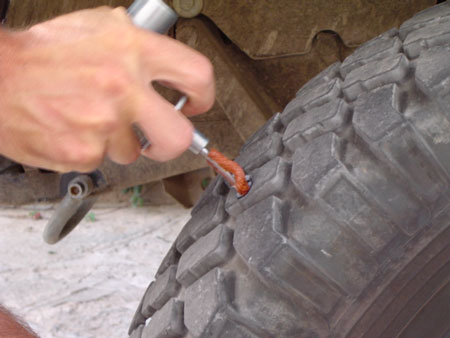
Step 5 Inserire l'ago contente la striscia a fondo nel pneumatico compiendo un movimento perpendicolare allo stesso.
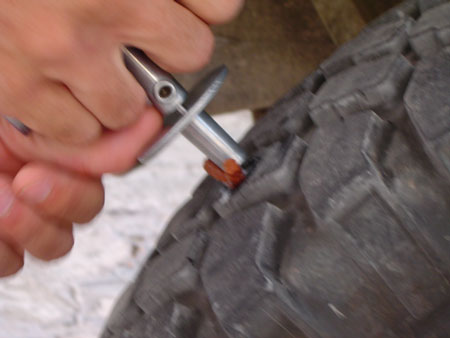
Step 6 Aiutandosi con il pollice mantenere il collare schiacciato sul pneumatico mentre si estrae l'ago. Solo in questo modo ci assicureremo il giusto posizionamento della striscia che diversamente potrebbe essere ritratta insieme all'ago.
A questo punto la riparazione è terminata.
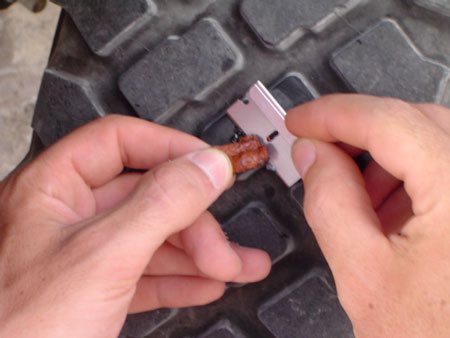
Step 7 Non resta che rifinire la riparazione tagliando l'eccesso della striscia autovulcanizzante con la lametta in dotazione nel kit.
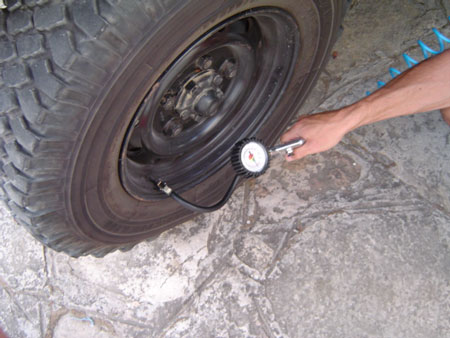
Step 8 Al compressore a bordo del nostro veicolo non resta che riportare in pressione il pneumatico e saremo pronti a ripartire. Raccomandiamo l'uso di un compressore efficiente come i nostri ExtremeAire ed ExtremeAire Jr. |