Tractech Detroit Soft locker Install in a Land Rover differential
![]()
Step
1:
Unscrew the diff drain plug with a 1/2" square wrench and drain the oil. Bring your exaust oil to the closest center for safe
recycling.

Step
2:
Remove the 5 bolts on the left axle flange using a 17 mm wrench. Be aware there is Loctite on the
bolts. Repeat on the right side.
Step
3:
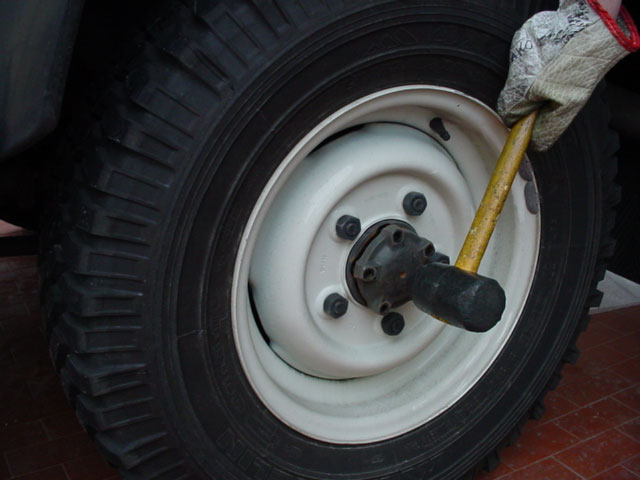
With a rubber hammer separate the axle flange from the hub.


Step
4:
Remove the axle shafts playing attention not to damage the splines.

Step 5:
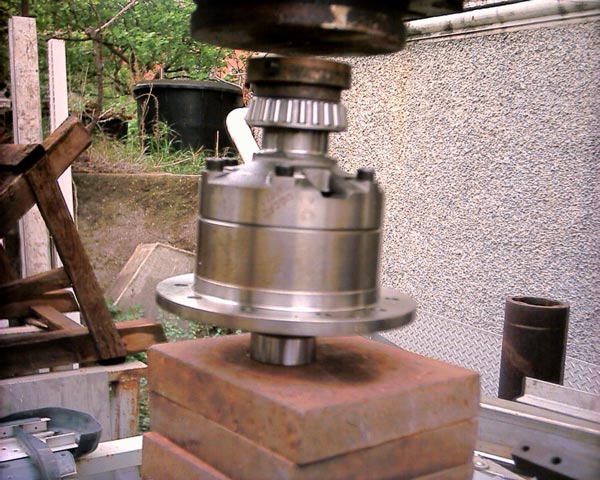
Provide for a complete cleaning using thinner or other good product for degreasing and put the differential under an hydraulic press to fit the new
carrier bearings. Part # for Timkens are LM102949 and LM102910 (2 of each per set). Lubricate them and the carrier shafts on the differential
using transmission oil. Put the bearing in position (the bigger diameter has to face the
diff) as much parallel to the hydraulic press as possible. Use a piece of copper
or brass to interpose between the bearing and the press. Press the bearing until it will
perfectly touch the differential carrier. Repeat the procedure for the opposite side.
Step
6:
With the differential on the bench make sure for proper match between axle splines and diff
flange.

Step 7:
Driveshafts are factory balanced but avoid vibrations is a good rule: mark the allignment between driveshaft and pinion for future perfect
and balanced reinstall.
Step
8:
A 9/16" and a 14 mm wrenches are needed for bolts and nuts that couple the driveshaft to the
pinion. Tight the driveshaft out of the way where it won't interfere with the third member
extraction.
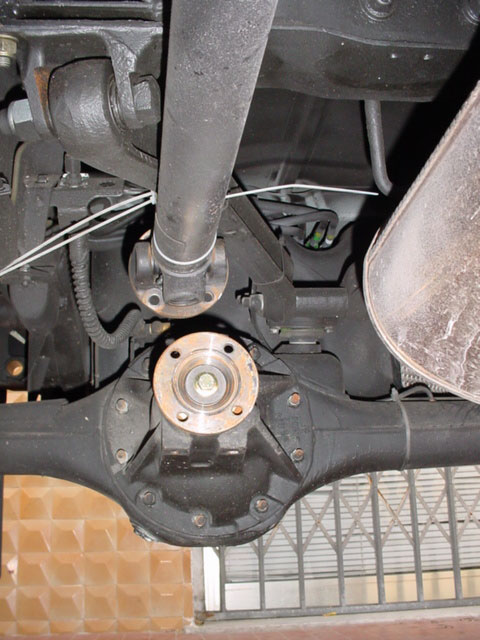
Step
9:
A 14 mm wrench is needed to remove the 10 nuts that secure the third member to the
axle casing. Cross unscrew (180°) the nuts.
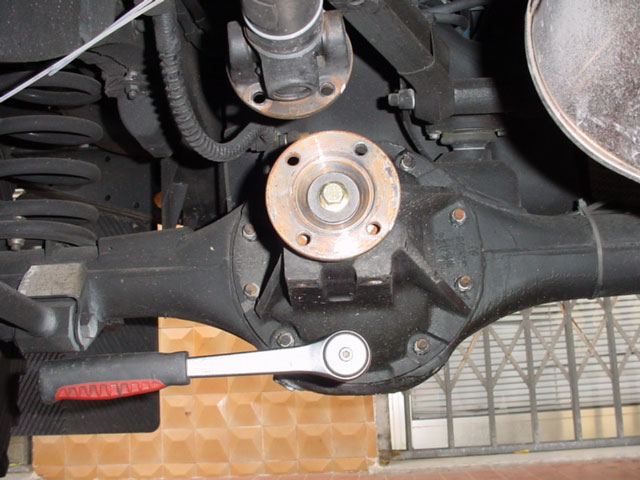
Step
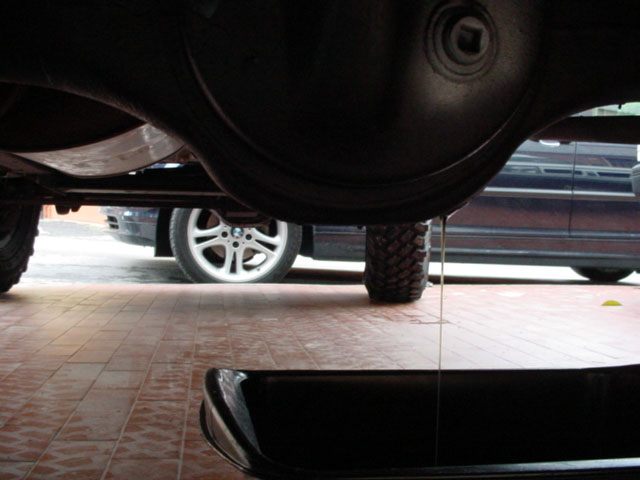
10:
An hidraulic jack will help to start separating the third member because of the factory
sealant. Not exceed lifting to prevent damages to the studs on the axle casing. Once the third member separation has started
pull forward. Consider the complete assembly is very heavy and precautions have to be taken to avoid injuries and
damages.
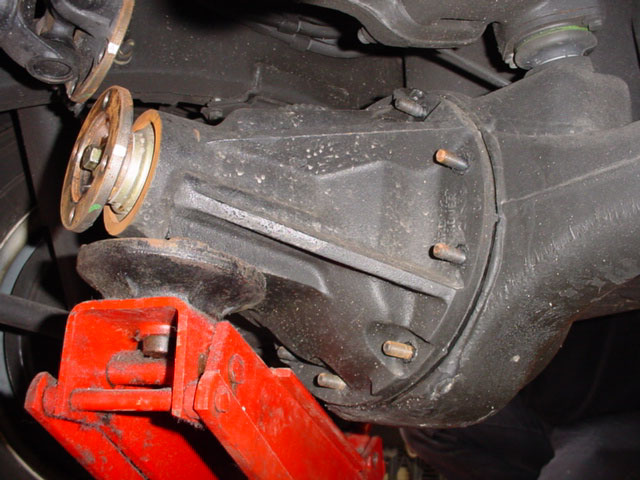
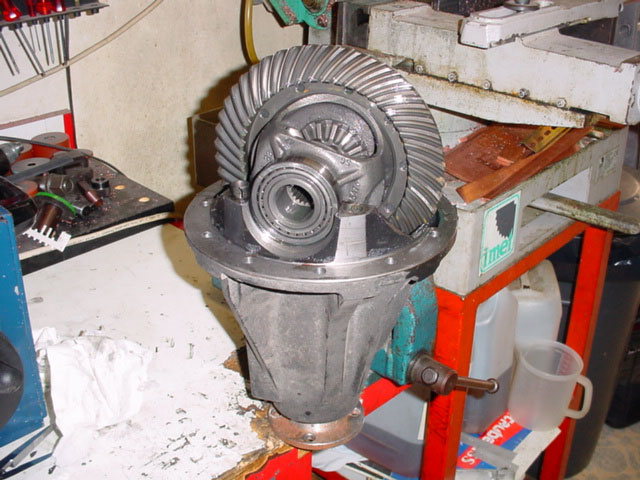
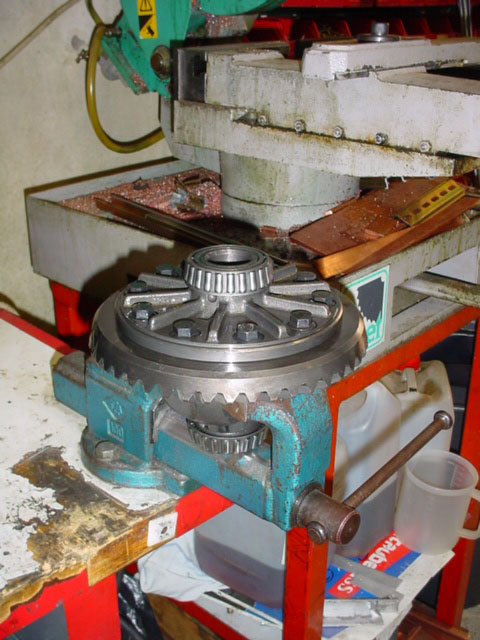
Step
11:
Secure the third member to an heavy duty vise by tightening it from its wings. Take care not to hit the pinion
flange. Clean the unit and remove accurately all of the factory sealant. Use a blade if necessary but avoid to scratch the
surface.
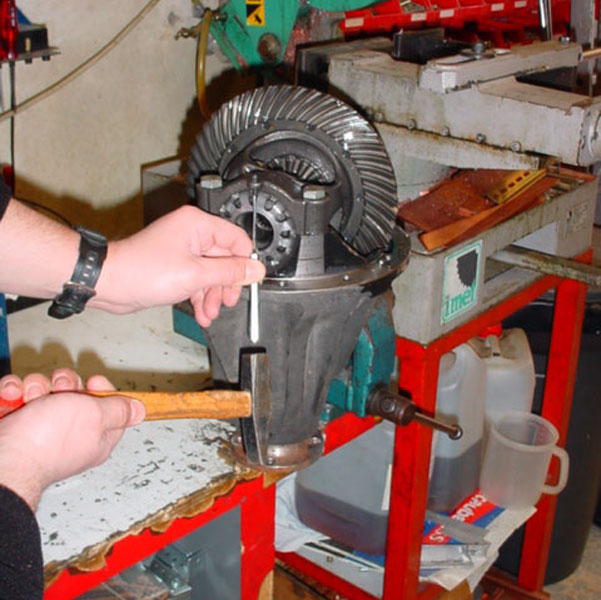
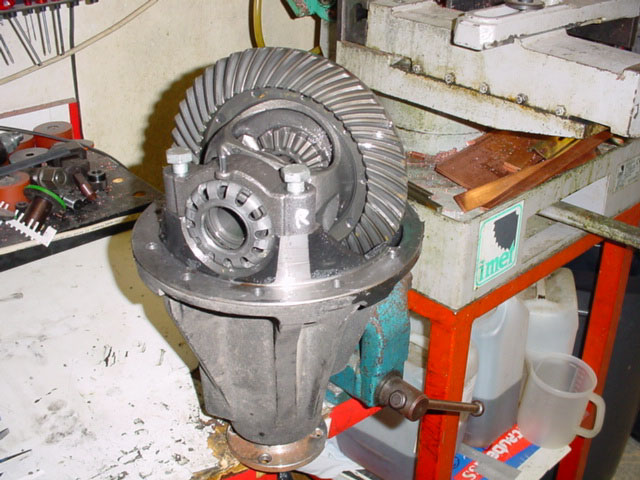
Step
12:
Remove the roll pins that hold the bearing adjustment nuts. Do not totally remove them since
it's necessary just to lift them that bit to allow the bearing adjustment nut to rotate.
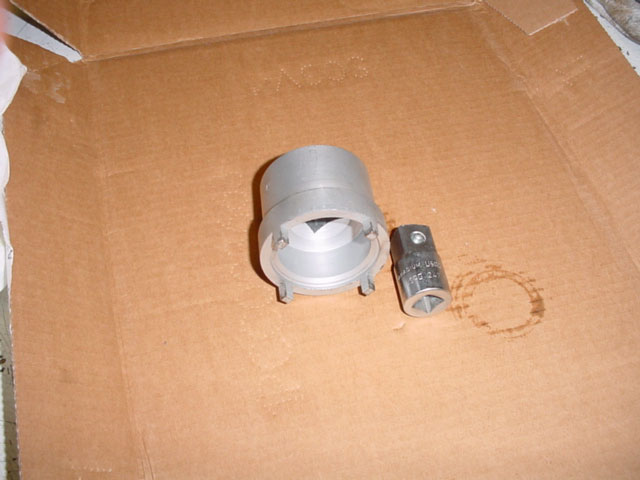
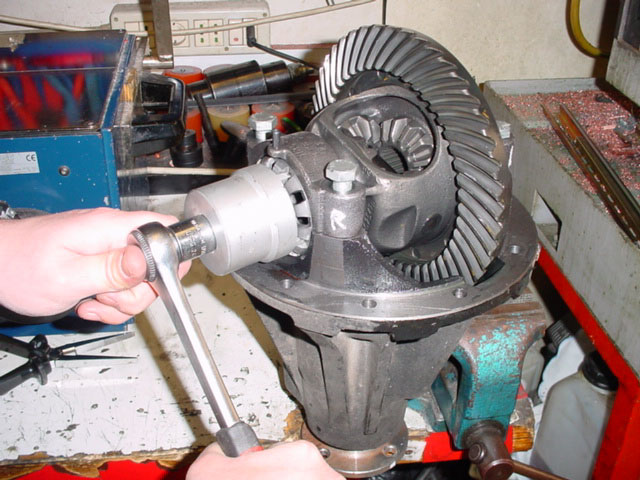
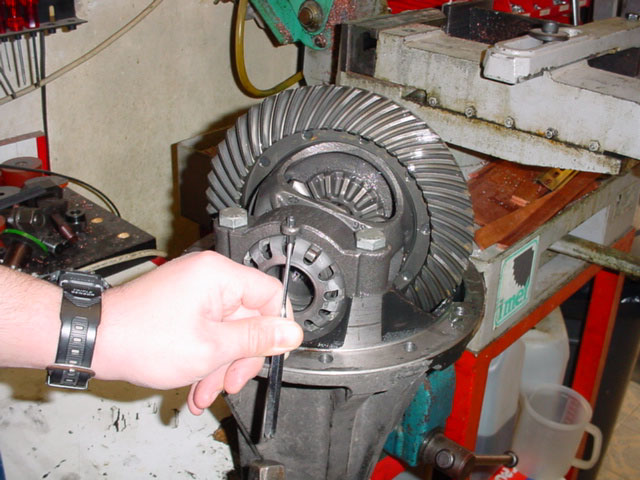
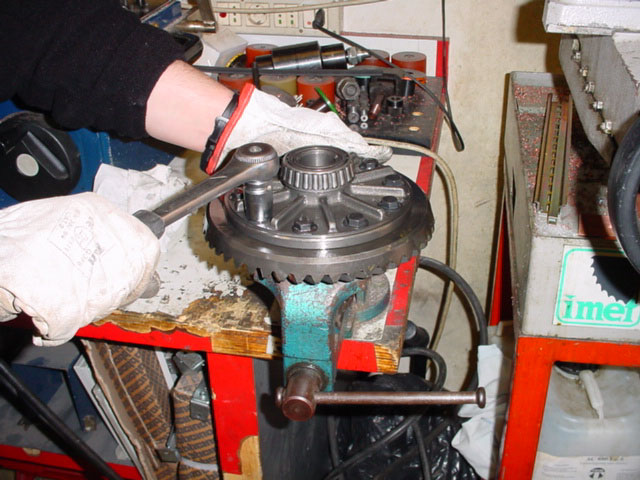
Step
13:
Mark each carrier bearing cap since they are specific for a given side. Unscrew the 4 bolts with a 19 mm
wrench. Now it's possible to remove the bearing nut with the proper tool. Remove then completely the 4 bolts and the bearing
caps.
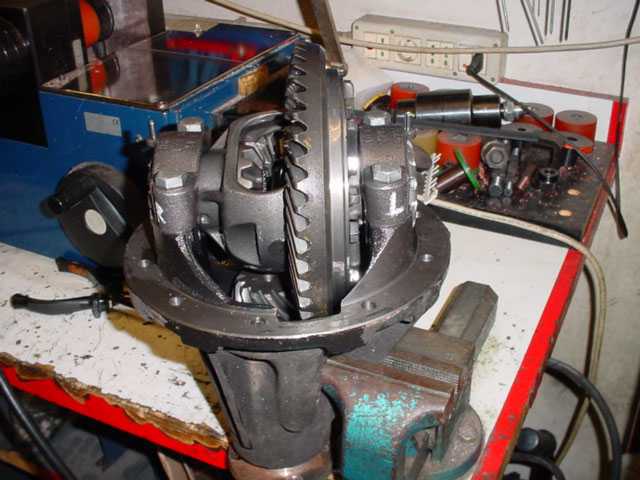
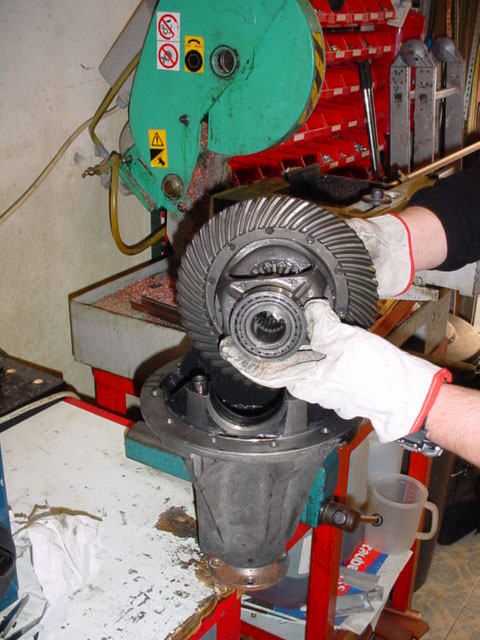
Step
14:
Lift the entire differential from the pinion housing. Play attention to the bearing
cups cause they are free to fall.
Step
15:
Put two softer (lead or alluminium) sockets on the vice. Do not tight too much the vice
to avoid to make oval the diff case.

Step
16:
With a 14mm wrench remove the bolts that secure the ring to the diff. Cross untight the
bolts (180°) to avoid ring's deformation. Gently tap the ring with a rubber hammer until
it separates from the differential. Hold the ring and avoid to touch it against the vice.
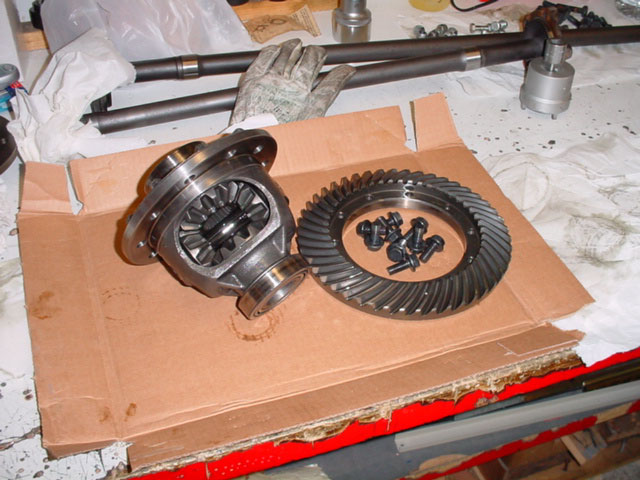
Step
17:
Put the components on the bench and clean them. You can now apply some kind of sticky grease
on the stock differential, wrap it in oily paper and store it in a low humidity
place. You might need this differential in the future and oxidation has to be accurately
avoided.
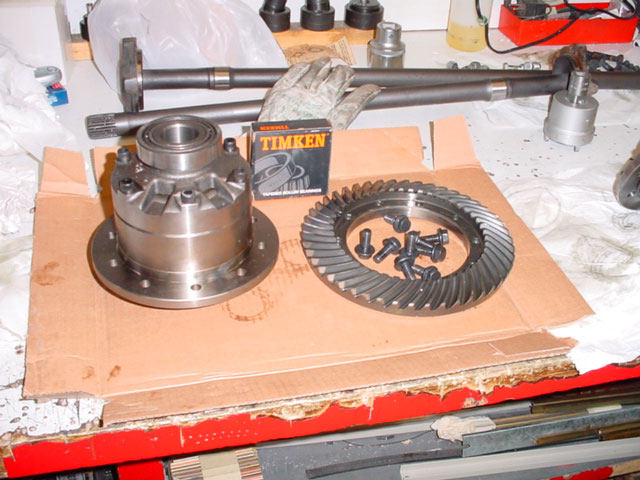
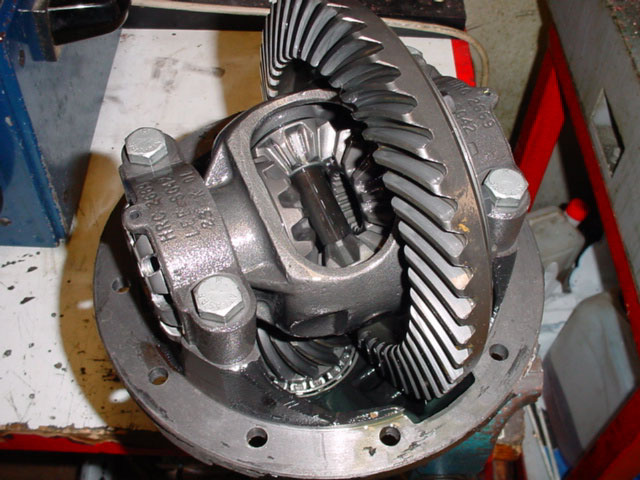
Step
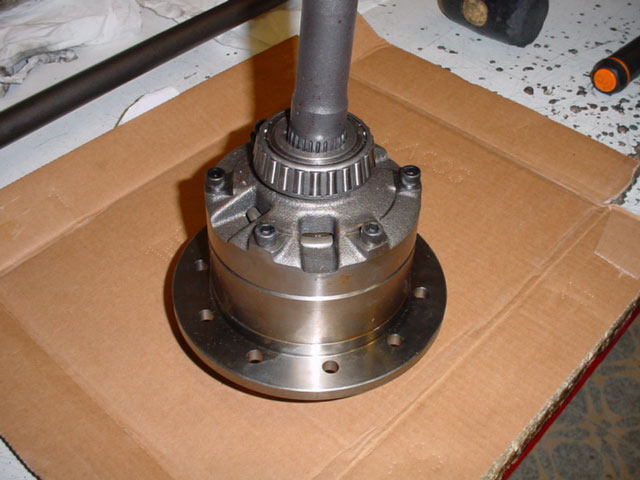
18:
Detroit differential ready for installation.
![]()
![]()
![]()
© RoverWorld 2000-2012. All Rights Reserved.