Roll Cage Installation Defender 90 Soft Top
Part
1
Part 2
Installation part 2 is the most difficoult, it requires time, room and a proper tool set. The front cage installation is the same for all the Defenders (the rear is for Soft Top only).
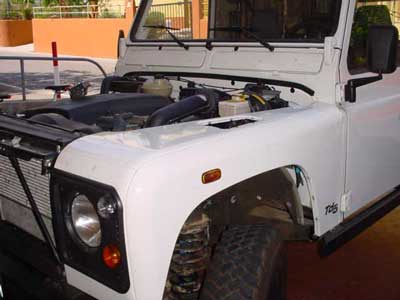
Disconnect the negative battery terminal. To install the front supports it's necessary to completely remove the front wings. Proceed as follows (this is the Td5 procedure but it's applicable with only small changes to all Defender models).
Step
1
Open and remove the hood.
Step 2
With a screwdriver (take care not to damage the body) remove
the grille on the side of the the right wing.
Step 3
Now remove the 7 screws ( Pozidrive #2) secure the grille on top of the right
wing.
Step 4
Repeat for the grille on the opposite side.
Step 5
From within the engine bay remove the bolts (8 mm wrench) that hold the "L"
shaped brackets. These brackets connect the wings with the inside of the fender
flares.
Step 6
Remove with a fork shaped tool the 3 plastic rivets that support the cooling
circulation tube on the inside right wing wall. Put
the pipe out of the way.
Step 7
Using a 8 mm wrench remove the 2 bolts hold the 2 ECR Borg Warner modulators.
Put them out of the way. '99 Defenders have just one B-W.
Step 8
Using a star screw driver (Pozidrive #2) remove the 2 screws on the heater air
intake.
Step
9
Remove heater air intake from the wing.
Step
10
Collect the seal playing attention not to damage it.
Step
11
Loosen screw and release bonnet lock inner cable from bonnet lock.
Step
12
Release bonnet lock outer cable from bonnet lock.
Step
13
Disconnect right wing electric multiplug (close to the heater).
Step
14
Disconnect left wing electric multiplug (close to the clutch reservoir).
Step
15
Disconnect windscreen washer pipe (inside of the left wing).

Step
16
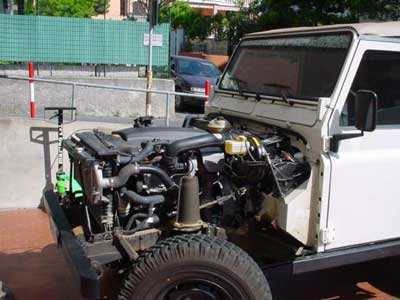
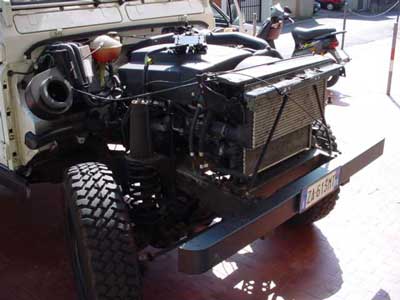
At this point we will have a "naked" Defender.
Step
17
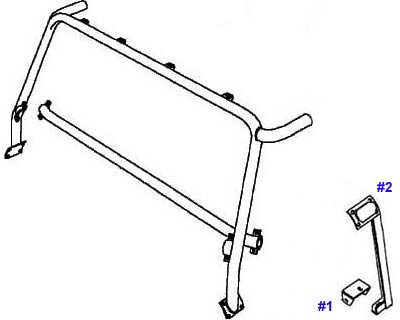
Before starting the job
on the wings, we can install the #1 bracket on the frame outrigger. This bracket
will allow the #2 bracket to be bolt on the outrigger and then to the bulkhead.
By adding the bracket #1, especially if you have already installed HD
rocksliders, the bolt that secure the frame to the bulkhead will then be too
short. Our advice is to change it with a same or better grade bolt (M12x200 10.9
- 12.9).
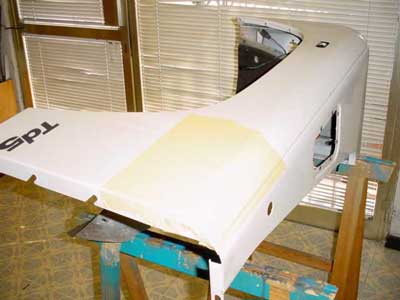
Step 18
Wing on the jacks. Apply protective tape. The one used by body shops works great.
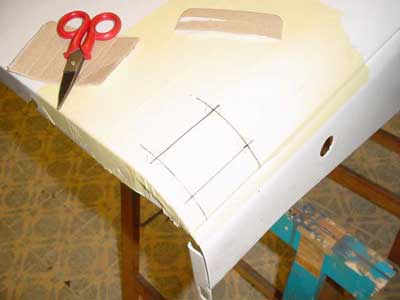
Step 19
Be sure to make all the proper measurements to define where to make the holes on
the body. You can help your self by putting the front hoop in place to mark the
position and double check it using the internal bracket.
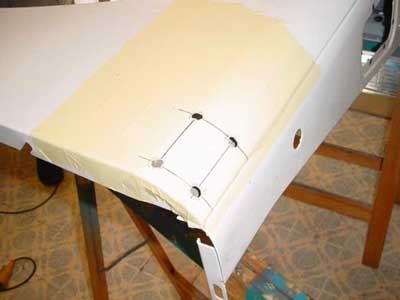
Step 20
With the measurements made, holes can be drilled and successively enlarged to 10
mm.
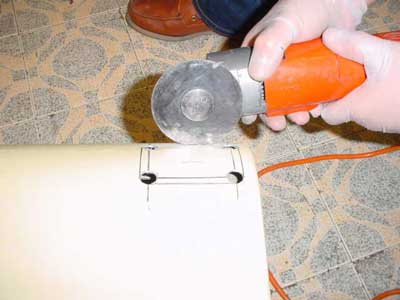
Step 21
To cut the aluminum body we used a specific tool. The Fein sander cuts by vibration and it is very precise, does not
ruin the paint and it's less dangerous. This job can be done also using a body
saw or reciprocaping saw.
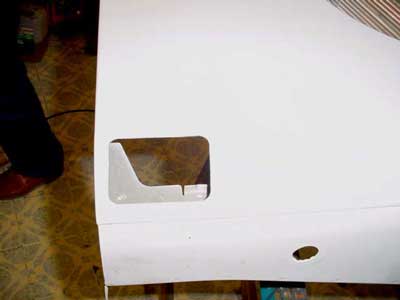
Step 22
Shape the hole with a file.
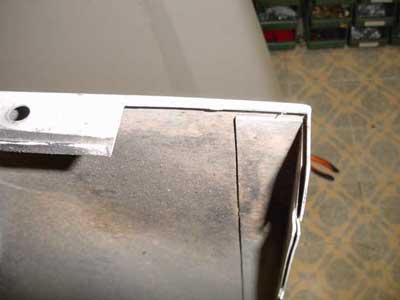
Step 23
It's necessary to cut the wing in its lower
part. That's to make room for the support bolted on the frame outrigger.
Step 24
Repeat the procedure on the opposite side
Step 25
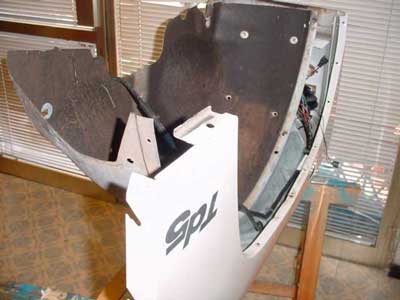
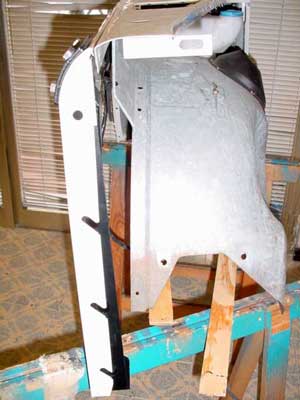
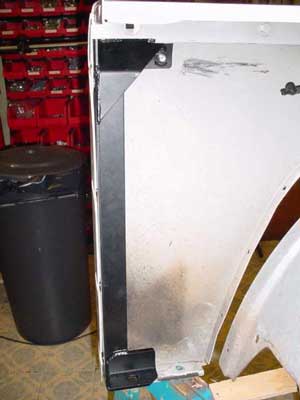
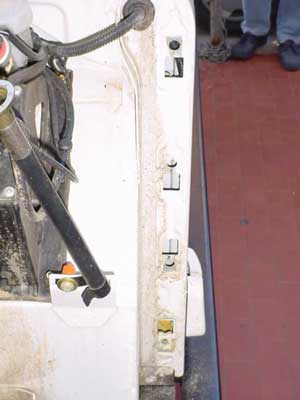
Now we can put the suports on for a test.
Pic #1 shows the side that will be bolted to the bulkhead. Pic#2 shows the whole
support and the base wich will be bolted to the outrigger via the support #1.
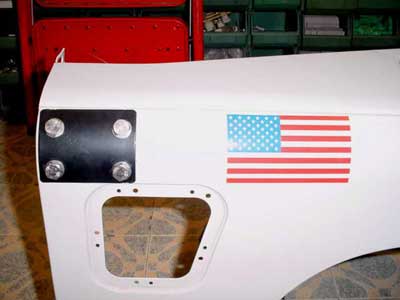
Step 26
The black plate is just temporarily on. It
will help holding the support in place during the installation and it might be
usefull in case of future cage removal.
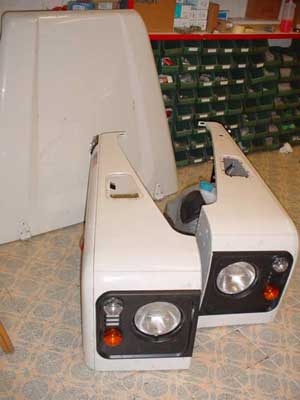
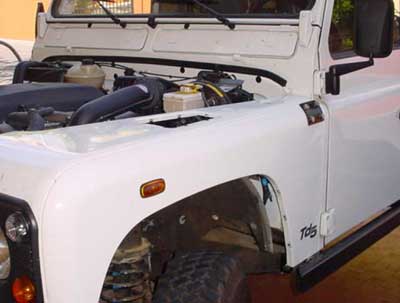
Step 27
Wings awaiting reinstallation.
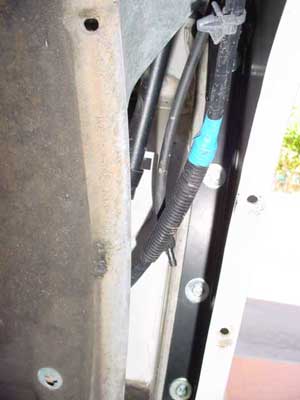
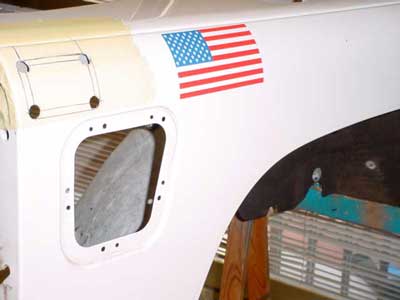
Step 28
Pic#1 Nuts have to be changed to accept M10 bolts. Tight to 45 Nm. Pic#2 support and wing in its
final position.
Step 29
Before tightening all the bolts check for proper body panel allignment.
Particularly wing to bulkhead and wing to hood. Reverse
steps from 1 to 16.
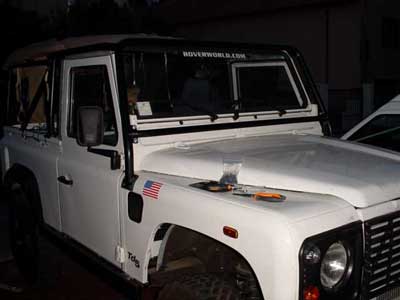
Step 30
The front hoop is finally installed. There is a rubber gasket between the body
and the hoop (ALR5548). Tight all the front nuts to 25 Nm.
Time to say thanks to my "wrench buddies" Francesco Mazzitelli (on the right) a real Land Rover Guru and Michael Azzariti (not pictured) who came from USA and stayed with us during the GT#2.
![]()
![]()
© RoverWorld 2000-2011. All Rights Reserved.