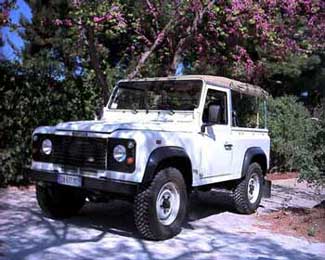
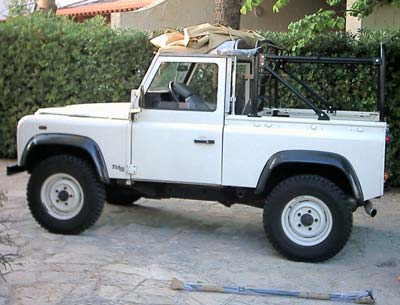
Defender 90 Roll Cage Installation
Part
1
Part 2
The roll cage installation has to be considered by all of the off roaders who drive their 4x4 on very hard trails because of the safety the cage itself offers. Also it has to be considered by all of those who, as in the case of the D90 Soft Top, have no protective structure above their own head. In the first part it will be shown how the rear part installs. It is a long job but it's straight and simple. Drill some holes, make some other ones bigger and bolt the cage together. But at the end of the installation we will face a problem....
I
had chosen the NAS cage and I had bought it from Frogs Island 4x4 ltd....what a
mistake! I had trusted the magazine's adverts and the factory's reputation
only to find out that:
1)The cage isn't a NAS cage as assured by FrogsIsland but a NAS Style. The NAS
cage has all the mounts on the frame and it's considerably stronger. 2) Due the
different middle hoop position I won't be able to install the NAS Soft Top as I
was planning to do. 3) The cage arrived scratched and pourly painted in some
spots. 4) I did not receive any fitting instruction. 5) I did not receive any
assistance in getting the documents necessary to have the cage registered (mandatory
in Italy). 6) When I finally decided to write to Safety Devices (the cage
supplier) I didn't receive any reply back and I had to phone and fax them 5 times
only to receive (one month later) the wrong documents. Then I gave up....I
think I had the worst experience I could from England and wish to share it with
my readers. Despite the assurance the cage is as strong as the NAS one I decided to
definetly put Frogs Island
4x4 and Safety Devices in my BLACK LIST.
Step
1
Remove the factory zinc plated structure. Note how weak it is and absolutely not able
to provide any protection in case of a roll over.
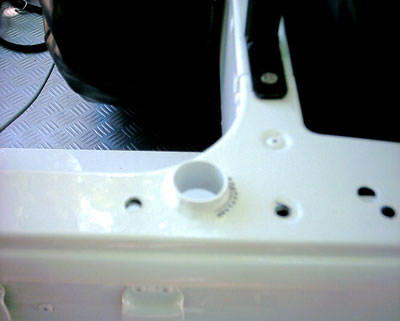
Step 2
Mark the position of the middle hoop. The cage's diameter is 1" and 3/4
(44,5 mm).
Step 3
Using a 2 mm drill bit, drill holes and complete the circle previously marked. This
job can be also done using a hole saw drill bit.
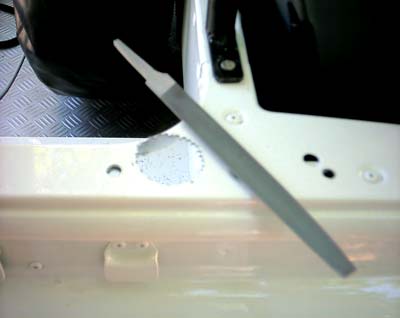
Step 4
Shape the hole with a file.
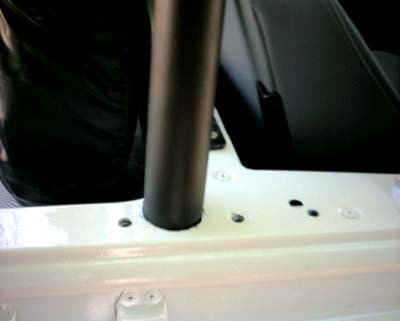
Step 5
Place the hoop for a test. Allow a small tolerance.
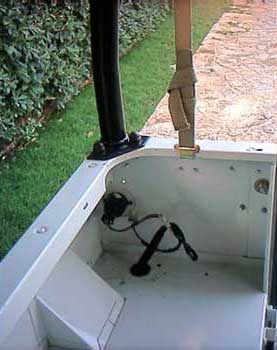
Step 6
Put the middle hoop socket in position.
Step 7
Rivets are reccomended to attach the middle hoop sockets to the body. I preferred M6
8.8 bolts since they are stronger and easy to remove. Only 3 rivets have been
used (the outside 3). Use silicon sealant to prevent water infiltrations.
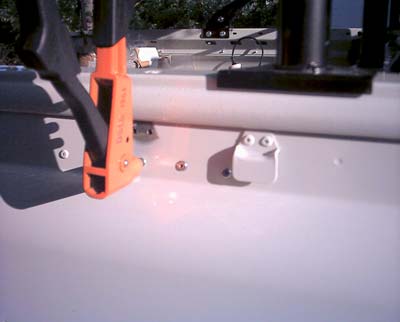
Step 8
To place the 3rd rivet one of the soft top hooks has to be temporarily removed.
Step 9
Soft Top hook reinstall.
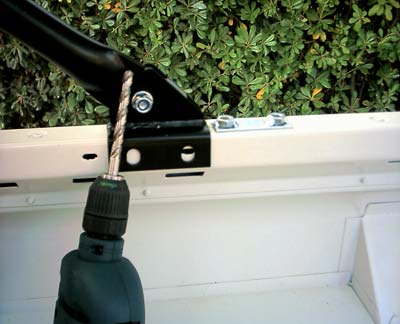
Step 10
The diagonal bar needs 2x10 mm holes.
Step 11
The rear hoop is easy to install. Just enlarge the existing holes to 10 mm.
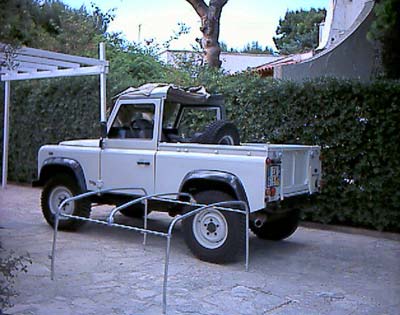
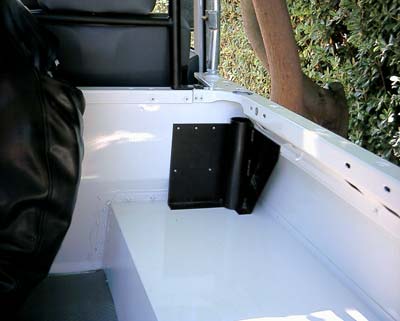
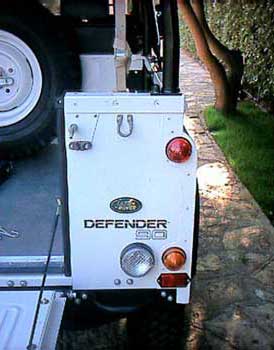
Rear part installed.
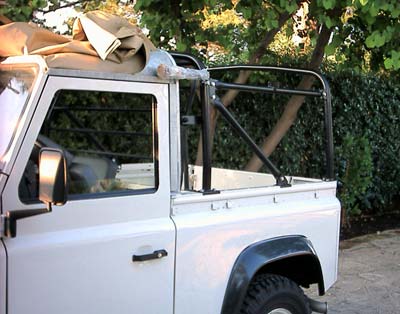
Covered with plastic you can see the part will join the front to the middle hoop via a side bar that will run above the windows.
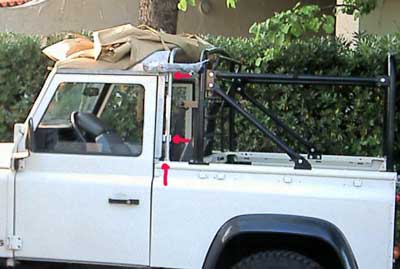
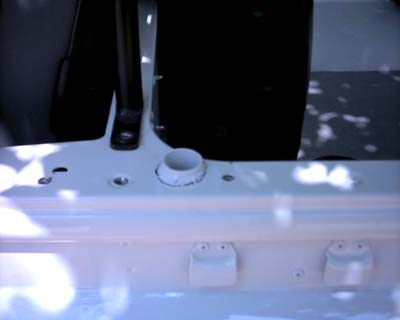
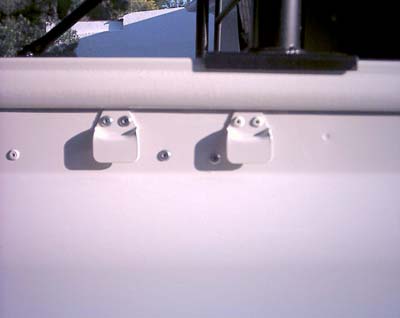
At this point I faced a problem: How to remove the middle factory hoop retaining gutter suports? The middle factory hoop has in fact mounts welded on ( red arrows) and simply removing it will cause the gutter not to work.

Also I didn't like the idea to retain the factory hoop how suggested by Frogs Island 4x4 (with regard to the door seal assembly we use the lower part of the hoop on each side, we weld the top of the open end of the tube and then fabricate a bracket back to the seat belt mount, we use the original seal frames and powder coat them black) because the result would have been aestetically doubtable...at least. So I started to build my own custom brackets using the pre existing mounts.
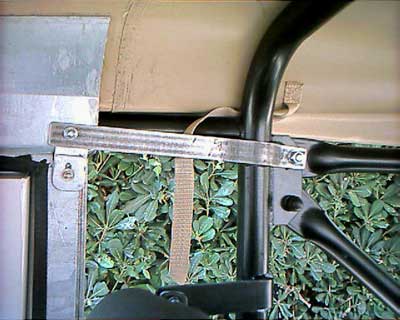
Upper bracket (not finished) on for a test.
Note the bracket follow the cage's curves.
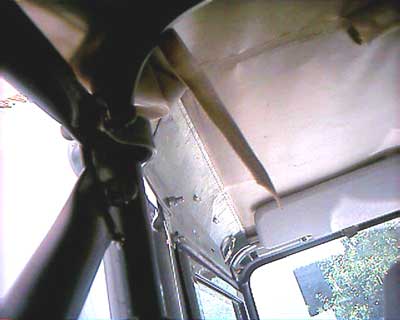
Lower bracket (not finished).
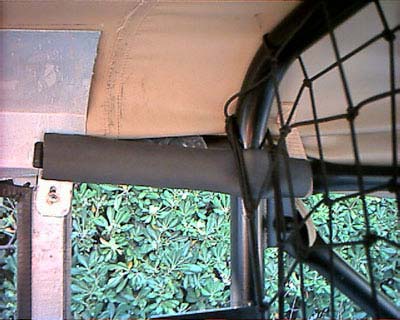
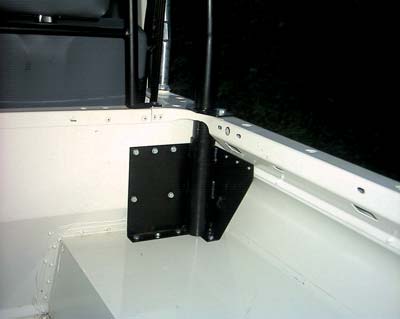
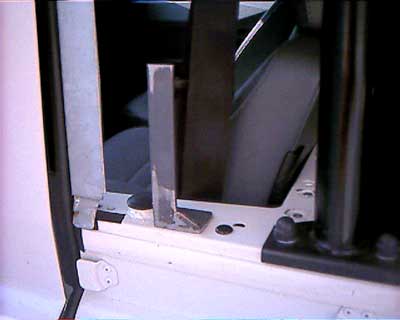
Upper bracket finished (black paint and neoprene).
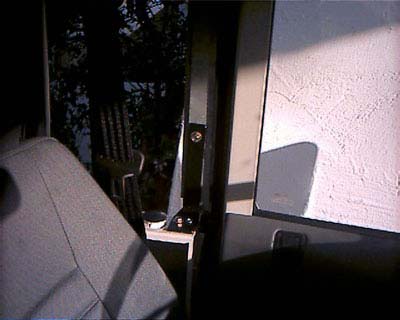
Lower bracket bolted in its final position.
![]()
![]()
© RoverWorld 2000-2011. All Rights Reserved.